
Shooting wide opened, or with a large aperture, can be challenging at times. So this month I want to get you practicing that, and really make sure you nail your focus – not just literally on the subject, but make sure you have a clear subject as well.

Shoot wide opened – new monthly challenge
So what is involved with shooting wide opened? Well, one simple setting on your exposure triangle – set the aperture on your lens to the biggest one you’ve got. If you aren’t sure what that is, look at the image below. There are numbers on the barrel of your lens, usually right after the focal length in mm, that show the maximum aperture for your lens.

Notice the lens on the left shows 1:1.8. What that means is the maximum (or largest) aperture this lens can produce is f/1.8. That’s a nice large aperture capable of some great bokeh and background blur. Now look at the one on the right, see how it shows 1:2.8-4, a range. That means this lens has a range of maximum apertures from f/2.8 to f/4. HUH? Did I just lose you?
Let me explain. Many zoom lenses do not have one maximum aperture across their entire zoom range. Only the really high-end expensive ones (Canon’s L-series with the coveted red line, or Nikon’s gold line) have a constant aperture, but they come with a hefty price tag. So most mid-range and kit lenses have a maximum aperture that varies as you zoom in. This lens is a 17-35mm and at 17mm (the widest) it can go to f/2.8, but if you zoom in to 35mm, the best it can do at that focal length is f/4.
What lens and setting to pick?
So what does all that mean? Just know that to use the largest aperture you need the smallest f-number. Read: How to use Depth of Field for more info on understanding aperture. So to do this challenge I recommend:
- Select a lens that has f/2.8 or f/4 as the maximum aperture if you have one. If you have a 35mm or 50mm f/1.8, even better, use it!
- Alternately if you don’t have one that goes that large for the aperture, use a lens that zooms longer. So if you have an 18-135mm kit lens that goes from f/3.5-5.6 use that, but at the longer end (closer to the 135mm) not the wider (18mm) end. It is harder to get shallow depth of field using a wide lens. So for this exercise pick a longer than normal (50 or greater) lens.
- Set your camera to aperture priority (and auto ISO if you have it).
- Set your aperture to the biggest one you’ve got (smallest number).
- Get shooting.

Need a lens? Here are some options for you if you feel you need to buy one (but you really don’t):
- 35mm lenses:35mm f/1.8 DT Alpha A-Mount Standard Prime Lens; AF-S DX NIKKOR 35mm f/1.8G Lens; Sigma 35mm f/1.4 DG HSM Art Lens for Canon DSLR Cameras; Tamron SP 35mm f/1.8 Di VC USD Lens for Canon EF
- 50mm lenses: Canon EF 50mm f/1.8 STM Lens; AF-S NIKKOR 50mm f/1.8G Lens; Sony 50mm f/1.8 DT Alpha A-Mount Standard Prime Lens; Pentax smc DA 50mm f/1.8 Lens
- 85mm lenses: Canon EF 85mm f/1.8 USM Lens; AF-S NIKKOR 85mm f/1.8G Lens; 85mm f/1.4 EX DG HSM Lens For Nikon Digital SLR Cameras; Canon EF 85mm f/1.2L II USM Lens

What to shoot?
I tend to shoot wide opened a lot so pretty much anything goes for this challenge. Here are some subjects that work well with a shallow depth of field (and some examples for you):
- Still life (non-alive) objects and details
- Macro subjects (read: The Ultimate Guide Macro Photography for help with that)
- Pets
- People or portraits
- Nature
- Bokeh backgrounds
Here are some more photography ideas for things to shoot.
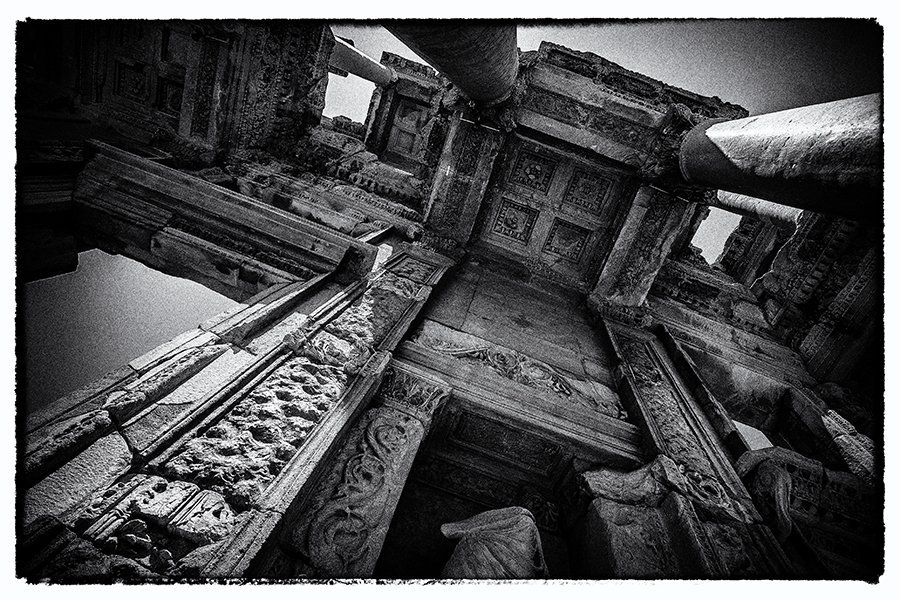
Still life and details – my faves!
This is something I do a lot and a way to take ordinary things and make them look interesting and appealing.


Pets
If you can get them to stand still try this with your pet. Make sure you focus on their eye! If one is closer to the camera than the other, always focus on the nearer one.


People and portraits
The highly coveted blurry background for portraits is something you can practice for this challenge if you like photographing people. To do so make sure you do all three of these things:
- Use a slightly long lens (50mm or long on cropped sensor, 85mm or longer on full frame)
- Get the subject as far away from the background as possible. The more distance there is between them, the easier it will be to blur the background.
- Use a large aperture. You may want to use f/1.8 if you have it but be very careful of your focus (see notes below). Usually, for a single person, I choose f/2.8. Gets more of them in sharp focus while still throwing the background out of focus.


To help you with nailing your focus, read this: 6 Tips for Finding Focus and Getting Sharp Images
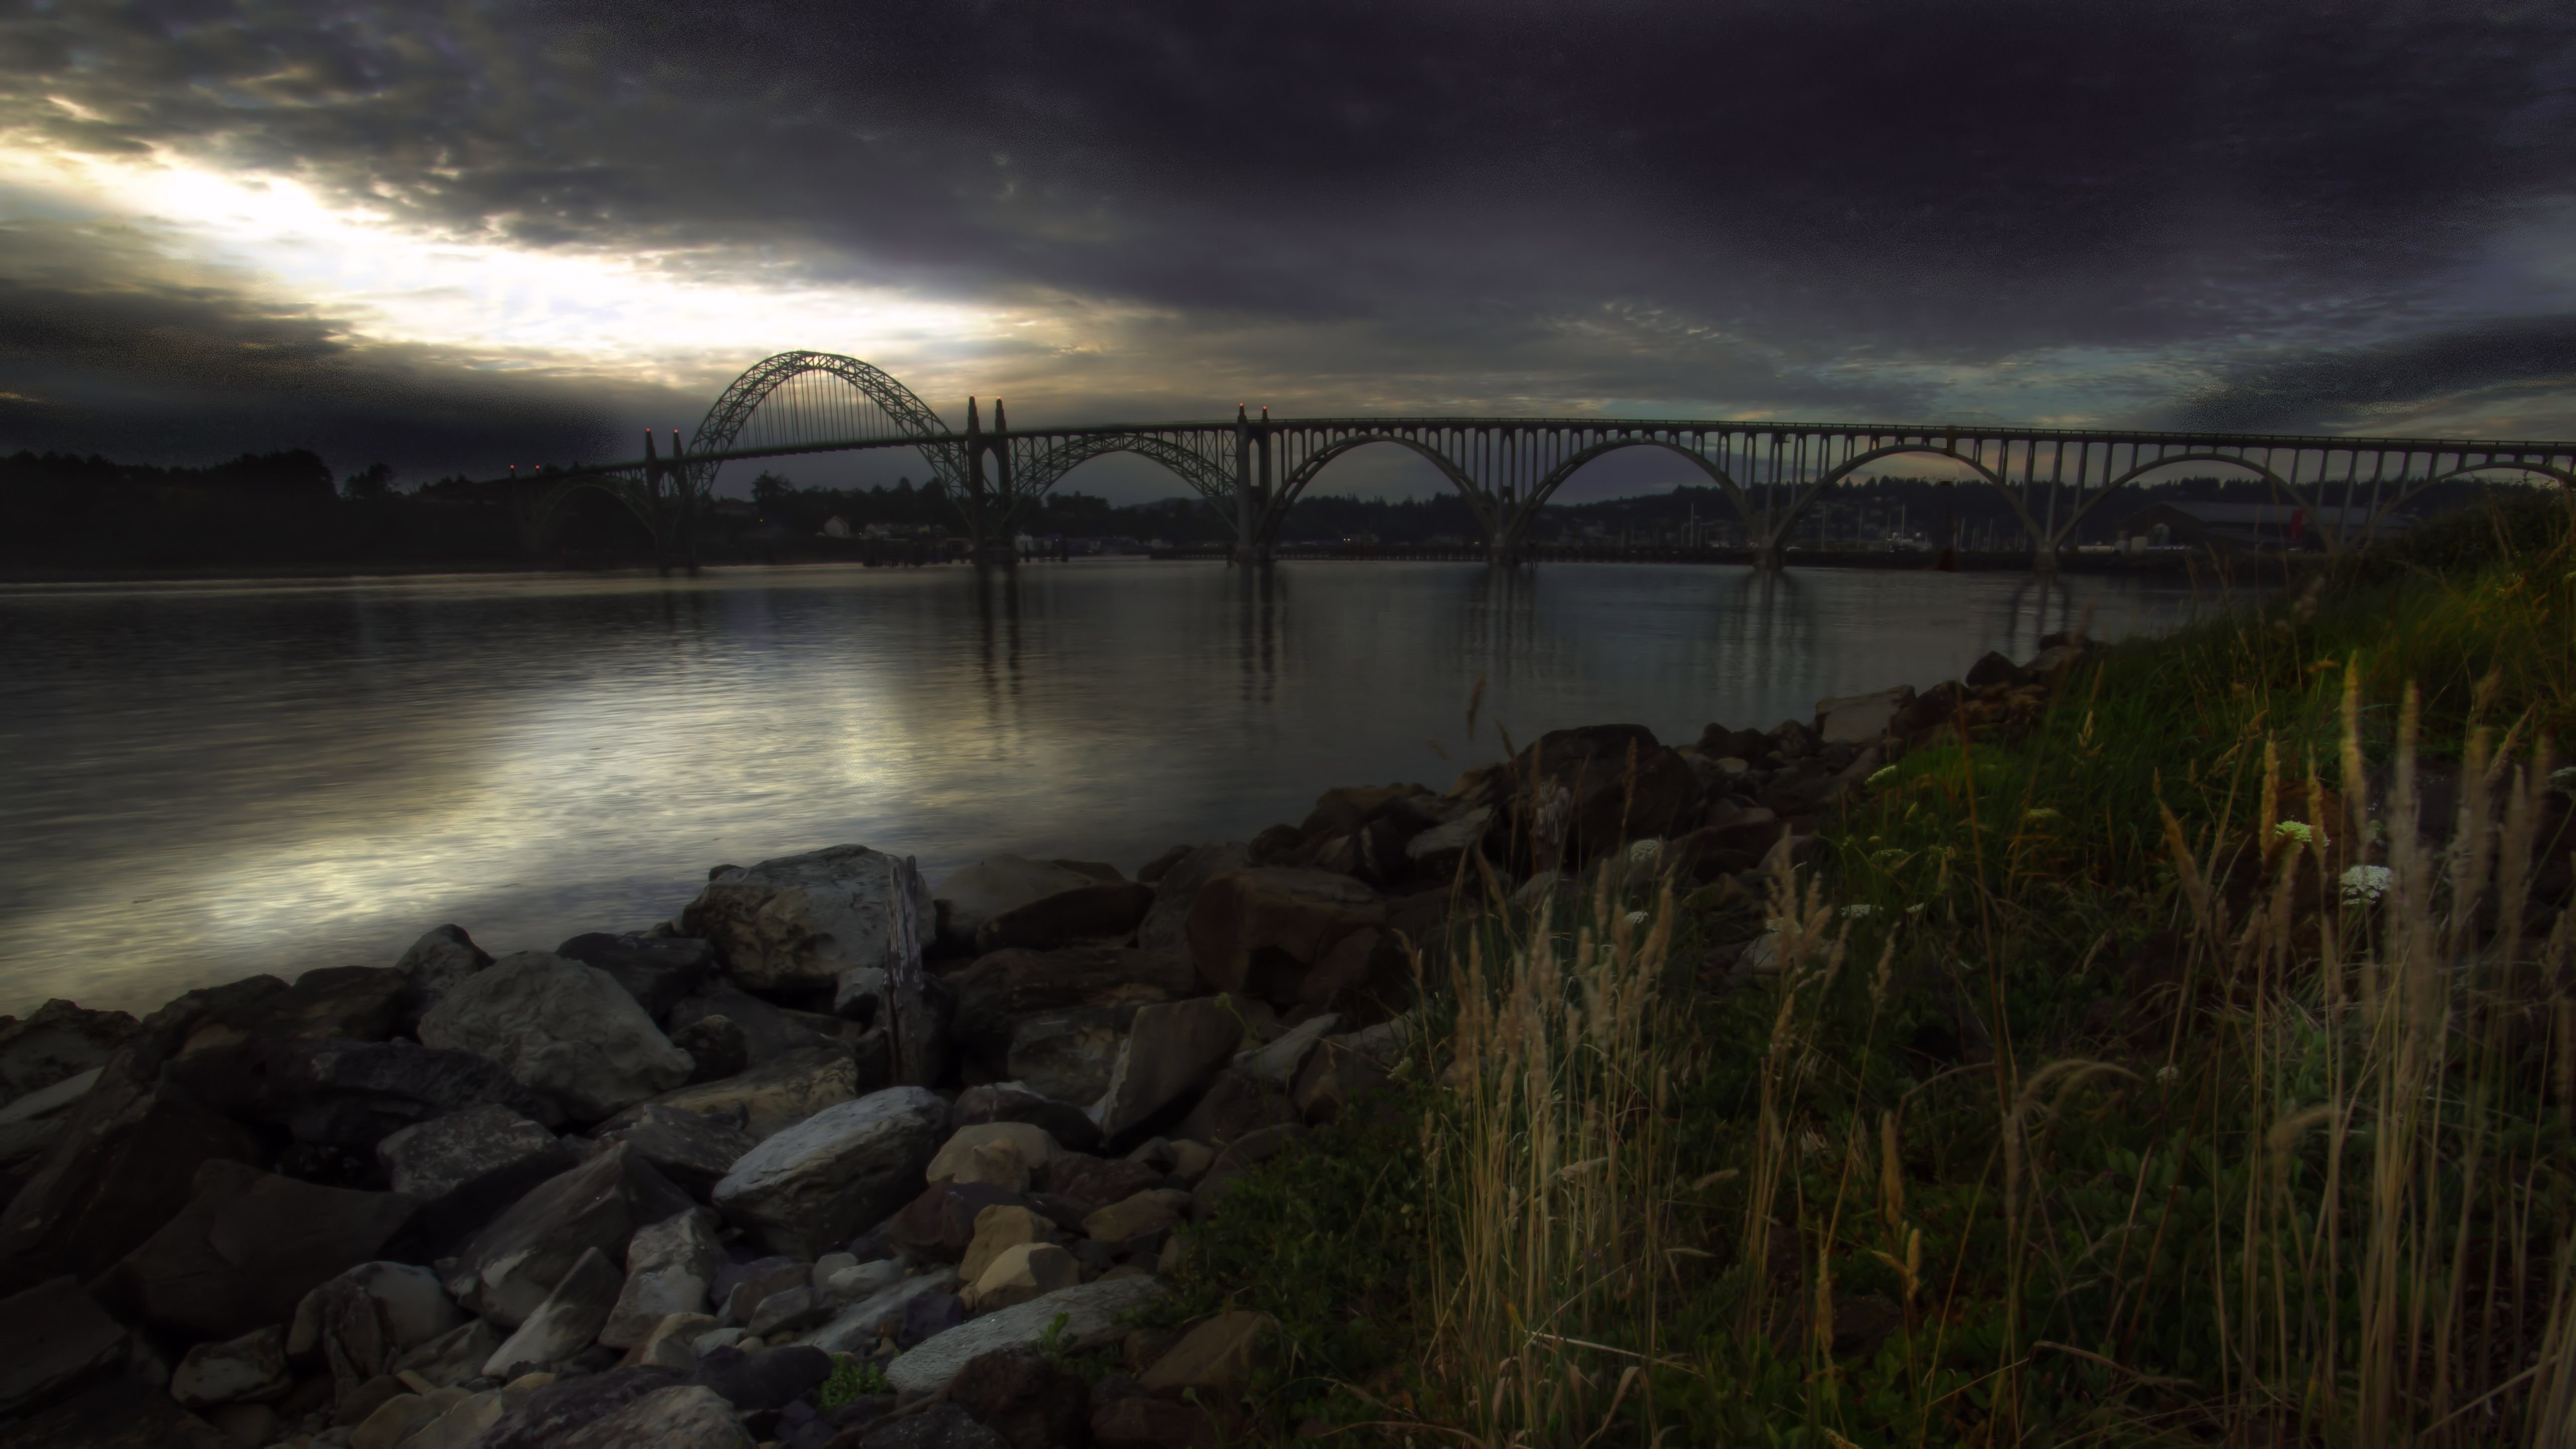
Nature
When most photographers think of nature they head directly to the wide sweeping grand vistas. While those are great, I tend to get closer and focus in on little bits of the scene. Look for details in nature to photograph too.


Bokeh background
This is a fun thing to play around with. You do need a lens with a really big aperture to make it work the best, but your 50mm f/1.8 will work great, so never fear! Find or place an interesting subject some distance away from the background. Ideally, if you can find or create a background that has little lights it will make the effect that much more spectacular. Christmas tree lights (at that time of year), street lights, sparkling lights, anything with lots of light sources you can put way in the background will do the job.
These were all shot with my Canon 85mm f/1.8 lens at f/1.8. The shape of the bokeh (or blobs of light) will vary depending on your lens, how many aperture blades it has, etc.


Low light photography
Another good time to shoot wide opened is when you are in a low light situation. If you’re in a dark room it’s always the best idea to open the aperture fully, unless you have a tripod and all non-moving subjects, of course. Read: Tips for Low Light Photography for more information on that subject.
One more tip – get close
One thing you may or may not notice in a lot of these example images is that I am quite close to the subject in most cases. The closer you are to the subject, the shallower the depth of field will be, so the more pronounced the effect will be as well. So if you aren’t getting the look you want – take a few steps (or inches in some cases) forward. Also – shoot from an angle as opposed to straight on to the subject.
Look at this example. The first image is shot more straight on the board of numbered tags and a bit farther away than the second. See what a difference those two small adjustments make to the image? So remember to move your feet too!


Winners of last month’s challenge
Last month I gave you some of my images to play with in the get processing challenge. I have to say I was really pleasantly surprised (and impressed) by all the drastically different interpretations of them. We got everything from black and white conversions, turning day into night, and even combining two or more of them to make an entirely new image.
You also learned a lot too based on some of your comments. Here are just a few people that took away some good lessons and were inspired:
- Craig Boehman: I think the lesson learned here is to leave well-enough alone! Everything else as far as dramatic post-production should serve a specific purpose, I believe. The purpose here being one of experimentation for experimentation’s sake. The takeaway for me is that challenges like this really makes me think about how critical small changes are to the overall image – and how dramatic changes risk the chance of going too far.
- Stewart Gibbs: My biggest learning is to document that changes I made so that they are repeatable.
- Amy Mitchell: I’ve been using Lightroom since last September and am still learning every time I process an image. I think what I learned here is just how much information can be in there that can be pulled out with the right tools. I would never have guessed when I started what the finished product would look like, had no plan to make this look like a late evening sunset type of sky. This was very much trial and error. “Let’s try this and see what happens.” It helps to know that I can’t wreck anything. Yes, this felt very creative. I love processing images almost as much as taking them. It’s always fascinating to see what the final image turns out to be.
- Alison Trimbee: (several of her comments combined) I really enjoyed this. I realized it’s the first time I have sat down and thought about how I want my image to look once finished. It has taught me to consider the story I want to tell and how I might want to tell it. So my learning here was to practice b&w using LR tools; to follow one of the tutorials I have on my list to watch and to use a blend of filters in Nik that I haven’t used yet to create the dramatic, vintage look I was after. I certainly thought about what I was doing and felt creative in the process. I have now created an action list of tutorials to watch and edits to practice, going forward following the end of this month. The whole concept has motivated me to want to have a go, so for that alone I say a huge thank you!
Alison Trimbee made this gritty black and white version by trying a new technique. - Rebecca Cullimore: This was a lot of fun and it taught me that there is so much that you can do with a photo. There is also so much information within a photo that you can tweak levels of color to get a dramatic effect. I read once that editing is used to change the picture to remind you of the feeling you had when you took it. Often just a little editing can bring that feeling of wow back that caused you to take the picture in the first place. Thank you for the reminder on how powerful a little editing is and how much it can change a photo.
- Jim Furey: I believe that image processing is fundamental to the “art” of photography. The objectives are either to make the image look like what I saw with my eye when I made the exposure (the main case) or to use an image as a starting point to create something artistic (the case I’m trying to learn).
And the winners are. . .
Selected totally randomly from all eligible entries, the winners are:
- Jesper Jørgensen – won a set of my Lightroom presets. He said: I used PS CC to processing this image. I normally don’t use PS, so this was great learning.
- Jim Ruse – won the complete Creative Kit from Macphun (thanks to them for sponsoring that prize). He said: I recently bought a plug-in created by Jimmy McIntyre called Raya Pro. This is the first image I have used Raya Pro for processing. I learned a lot about some of its features. I also learned some new techniques from a couple of other sources I have been studying. This was GREAT fun and I learned a lot about being creative with post-processing.
Congratulations guys, I’ve emailed you on how to collect your prizes.
How to participate in this month’s challenge
In order to participate in this challenge and be eligible for this prize you need to:
- Upload your wide aperture, shoot wide opened image in the comments section below
- Tell us how you shot it (what lens and settings).
- Tell us about your experience and what you learned by doing this challenge? If you usually shoot at f/8 or smaller, how was this for you? What did you learn in the process of shooting? Tell us about that.
- Upload your photo, shooting info and what you learned by the cut-off date of October 14th, 2016 (11:59 pm EST or UTC-5). NOTE: please do NOT save your images as TIF (they will be too big to add in the comments, must be under 2mg) and please do NOT email your images to me for critique. I cannot give personal critiques by email, leave your images below and I will comment there.
Please note: if you do NOT fulfill all the steps above your entry will not be valid. Just adding the photo will NOT be counted as an entry. I want to hear about it too, please. The point of these challenges is to help you learn something new – tell me about that.
You may post more than one photo, and do this as many times as you like over the month (you can comment as many times as you like, and share as many photos as you want – but it will be counted as one entry per person). The more you practice the better you’ll get at it, like anything – so share away. I also encourage you to share the link to this challenge with a friend, so you can do it together!
The Prize
The prize this month will be a $50 Amazon gift card that you can use towards anything you like, perhaps even a new lens! We’ll randomly choose one winner from all the eligible entries.
Now get shooting and let’s see what you come up with!
Cheers,

