
In this article, you’ll see why you need to learn about and use exposure compensation, as well as how to set it up and take control over exposure and your images.
What is exposure compensation?
Simply put, exposure compensation is a setting on your camera that allows you to override the camera’s exposure choices in order to darken or lighten an image. It gives you full control over the exposure and the resulting image.
Several other camera settings factor into this equation also. So in this article, I’ll go over how to set up exposure compensation and how to use it properly.

Understanding this setting is a big step in taking control over the exposure and moving away from Full Auto and Program modes.
For more on camera shooting modes read this (see when I shoot Manual and when I do not!): Camera Modes – Do Real Photographers Only Shoot in Manual Mode?
How to find Exposure Compensation Settings on your camera
To find the exposure compensation setting on your camera it may be represented by a button (that looks like the symbol below) or a dial. It may also be possible to set it using your camera’s Quick menu on the back LDC screen.

Different camera brands and models may have different methods of evoking exposure compensation. Here are a few images showing where to find it on several different camera brands and models.
Find your brand below and see if it matches the diagram (shown alphabetically so as not to play favorites).


If your camera brand and model aren’t shown above or it doesn’t match any of them, then just consult your camera’s user manual to see where exposure compensation is located.
What shooting modes does it apply to?
Exposure compensation works when you are shooting in Program, Aperture Priority, or Shutter Priority – with one exception. I’ll explain more about that below.
This is how it applies in each of those modes:
Program Mode (P) – usually, the camera will adjust the shutter speed in this mode (test it with your camera if you aren’t sure). So if you dial in -1 exposure compensation the camera will choose a faster shutter speed.

Shutter Priority (S/Tv) – the camera will adjust the aperture to compensate. Dialing in +1 exposure compensation will result in the camera opening the aperture by one stop, providing there is room to move it that much on your lens. If there isn’t you will get a photo that is too dark (unless Auto ISO is on as well).
Aperture Priority (A/Av) – the camera will adjust the shutter speed as needed. So if you dial in +1 to brighten the exposure the camera will choose a shutter speed one stop slower (longer exposure).
The exception – Manual Mode with a Nikon
If you have a Nikon camera and you shoot in Manual Mode it does affect the exposure, kinda sorta. It’s tricky because you are the one dialing in all the settings for ISO, shutter speed, and aperture so how can this be so?

Well, I discovered this sneaky little issue during one of my workshops. One of my students with a Nikon DSLR had all the images coming out too dark and for the life of us we could not figure out why. It took some Googling to figure it out.
What happens with some Nikons (I’m not sure if it applies to all of them) when you dial in exposure compensation and then set the camera to Manual Mode is that it shifts the meter. So instead of trying to achieve 18% (medium) gray, now it’s looking for something either darker or lighter (based on your Exp. Comp. setting).

Then when you look in the viewfinder the zero on the exposure scale isn’t really zero anymore! See, I told you it was sneaky! What does that mean exactly?
If you forgot to reset it (see important note below) and your exposure compensation is set to -2, then you will be underexposing all your images! If you adjust the settings to hit the zero target in Manual Mode you’re actually achieving -2 or two stops too dark!
That’s what was happening with my student. We reset the exposure compensation to zero and the problem was fixed! So – if you shoot Nikon, make sure you reset your exposure compensation even when shooting in Manual Mode!
When and how to use it to get the correct exposure
Let’s talk about when you would want to use exposure compensation and then I’ll give you the steps for how to use it properly.
Your camera is a complicated computer and it does a lot of calculating and figuring things out for you, especially in auto modes. But the thing is the camera can’t read the subject or your intention for your image so sometimes it gets it wrong.


There are a few tricky situations where your camera may get fooled such as:
- When the subject is backlit (see example images above)
- When both the subject and background are really dark or low-key (black cat on a black sofa)
- When the subject and background are really light or high key (snowy scene)
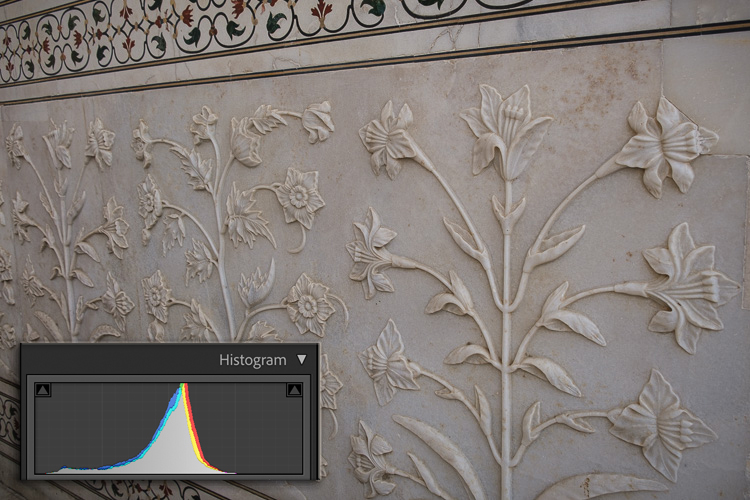
- High contrast scenes (like the one below)


NOTE: On the finished image above I did NOT adjust the exposure! I just used the highlights and shadows sliders to lower the contrast and get detail outside the window.
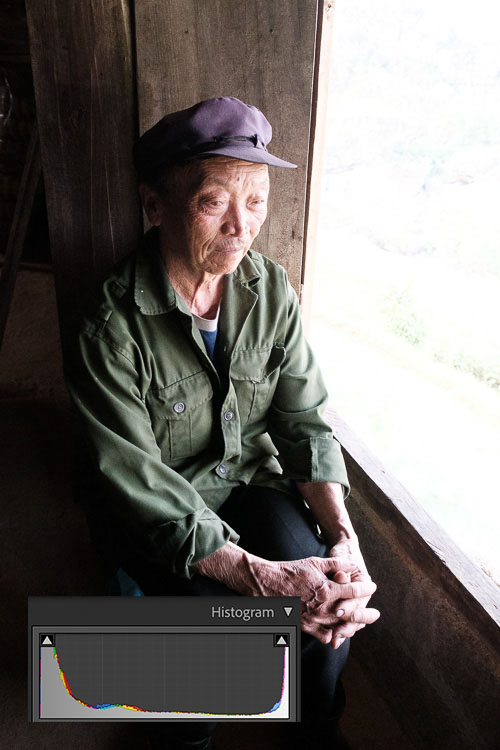
The metering mode you choose will also make a difference. Spot metering, for example, means you need to really set the exposure precisely based on the tone of the subject. It is for this reason that I do NOT recommend using spot metering – I almost never use it myself.
In the scene below that is mostly white and light colors, if I had used spot metering, the camera would have tried to make it even darker if I metered off his clothing. The camera and meter are trying to make whatever you meter off of medium gray, which in this case the subject is not.
So if you have a trick subject and the camera gets it wrong, you can use exposure compensation to overrule the camera and adjust the exposure as you see fit.
Follow these steps to use exposure compensation:
- Set one of the shooting modes listed above
- Dial in your desired settings (if shooting Aperture Priority set the aperture)
- Take a test shot
- View the image and carefully check the histogram
- Adjust the exposure compensation (+ or -) to brighten or darken the image
- Take another shot and repeat until you’re satisfied with the image
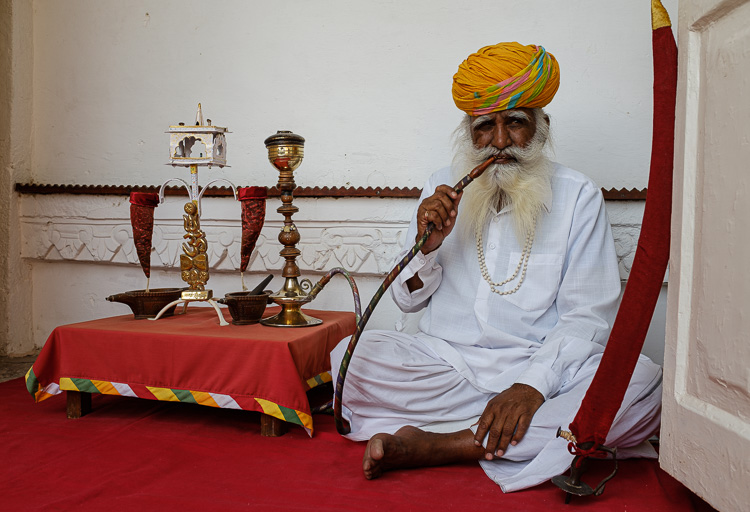
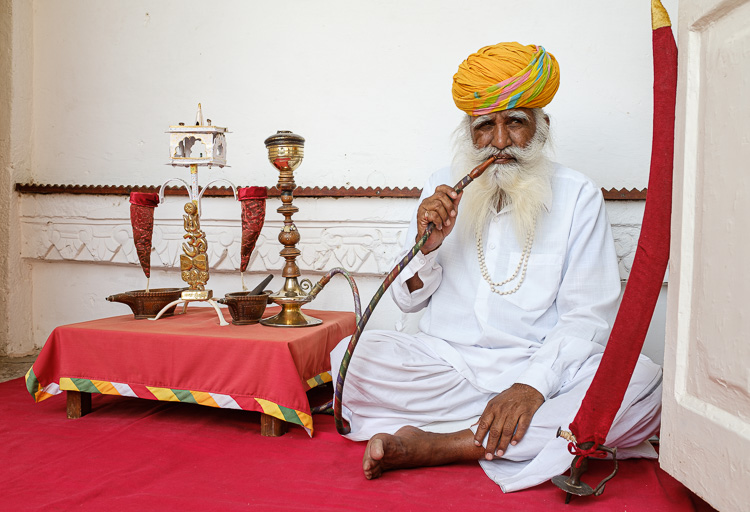
Below is another example of a light toned scene that the camera metering got wrong.


Read: 5 Tips for Getting the Perfect Exposure Every Single Time.
IMPORTANT – Exposure compensation does not automatically reset!
It is very important that you understand this is not a one-shot setting and it goes back to zero. Exposure compensation does NOT reset itself after you take an image.
You must manually reset it to zero to cancel out the compensation!
NOTE: So if your exposures all seem skewed one way or the other (too dark or too light) check this setting first!
As a side note, if your exposures seem erratic, some are too dark, some perfect, and some too dark – check that you do not have AEB (auto exposure bracketing) turned on. That’s another common issue I have seen occur!
For more related topics read the following articles:
- Why is the snow gray in my winter photos?
- It’s Possessed! 5 Weird and Annoying Camera Issues and How to Solve Them
Summary
If you are still shooting in Program Mode (there is no shame in that) try adding exposure compensation and see how it works. Use it to learn about exposure and gradually move towards some of the other semi-automatic modes.
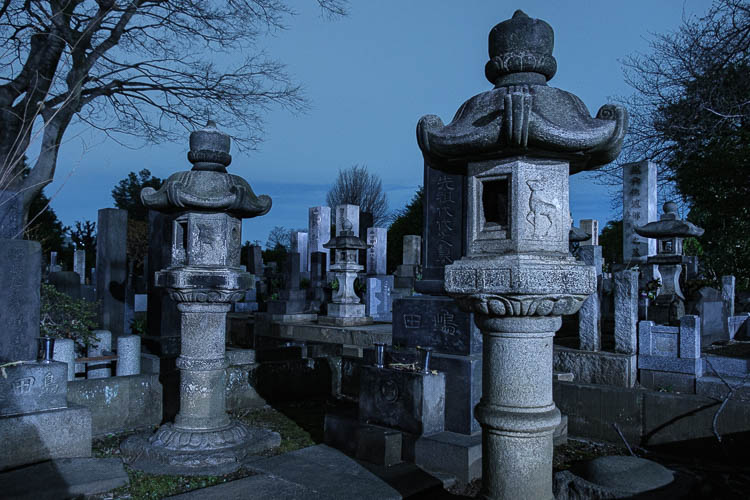
In the image above, the camera read the scene and calculated that it was too dark so it wanted to raise the exposure or brightness. But this is a night scene of a cemetery and it should be dark spooky. So I used exposure compensation set to -1.67 (one and two thirds) to capture it more accurately.
My go-to mode is Aperture Priority for most things when I’m shooting handheld. So I use exposure compensation all the time! Because I have years of experience, I am able to quickly assess the scene and know when to apply it.
Don’t be too hard on yourself if you don’t get this right away, it takes practice and experience. Just keep at it, use the tips in this article, and it will come.
Remember to do test photos whenever possible (when you have a stationary subject) and review the histogram. If it’s not right, use the exposure compensation and take another image. The more you use these techniques the more you’ll be able to assess a scene and adjust it before you even take a single frame.
Cheers,

